| Measurement data acquisition and processing |

|

|
| csütörtök, 19 április 2007 | |||||||||||||||||||||
Measurement control and data acquisition
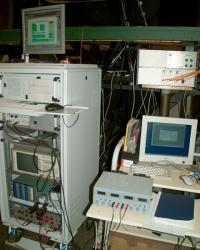
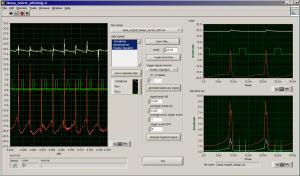
All the instruments and equipment are connected to the measuring Windows PC. The analogue digital I/O is driven by programs written in National Instruments Labview 6.1 or 8.0, with PCI, PCMCIA or USB interface data acquisition devices, or if the instrument has digital interface, with RS-2322 or RS-485 port. Data are mostly backed-up in ASCII files.
Calibration
Our instruments, if necessary, are regularly calibrated
Data processing, analysis, visualization
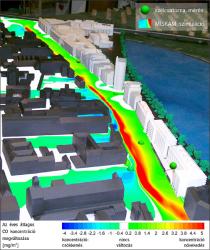
Usually for data processing MS Excel, National Instruments Labview and Tecplot 360 are used. It makes it possible to visualize the measurement results on the same figure with other result (e.g. from numeric simulation). It is possible to video record measurements on demand. Report is taken of the measurement in printed and digital form; on demand also electronical presentation can be produced. |
|||||||||||||||||||||


